
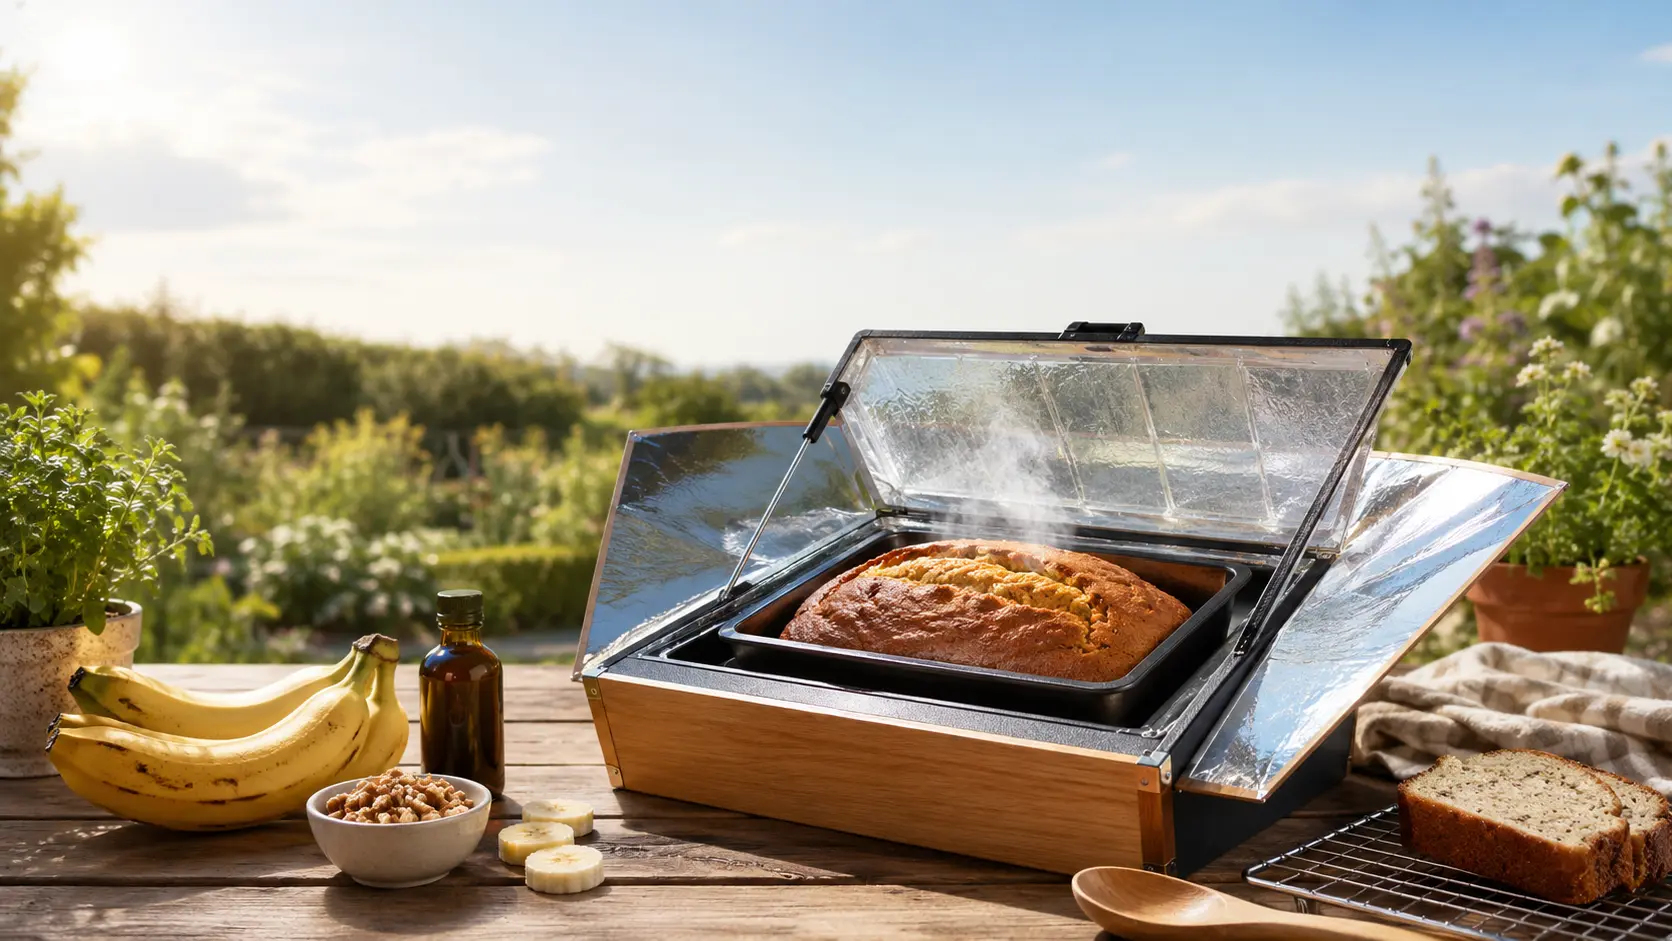
Solar Cooker Banana Bread Recipe lovers are often surprised to discover that baking bread with sunshine is not only possible but also incredibly rewarding. If you think solar cookers are only for slow-cooking stews or boiling rice, think again. Banana bread is one of the easiest and most delicious recipes you can make using the power of the sun.
Well, here’s the surprise—a solar cooker is actually an excellent baking oven.
One of my favourite things to bake in a solar cooker is banana bread. It is simple, forgiving, and fills the air with a wonderful aroma while it slowly bakes under the sun. If you have a few overripe bananas sitting on your kitchen counter, don’t throw them away. Instead, let nature help you turn them into a delicious homemade loaf.
I still remember the first time I tried baking banana bread in my solar oven. I wasn’t completely confident it would work. I kept wondering, “Will the bread rise? Will it cook all the way through?” After patiently waiting for a couple of hours, I opened the cooker to find a beautifully baked loaf that was incredibly moist and smelled amazing. From that day on, banana bread became one of my favourite solar baking recipes.
If you’re new to solar cooking, this recipe is one of the best places to start.
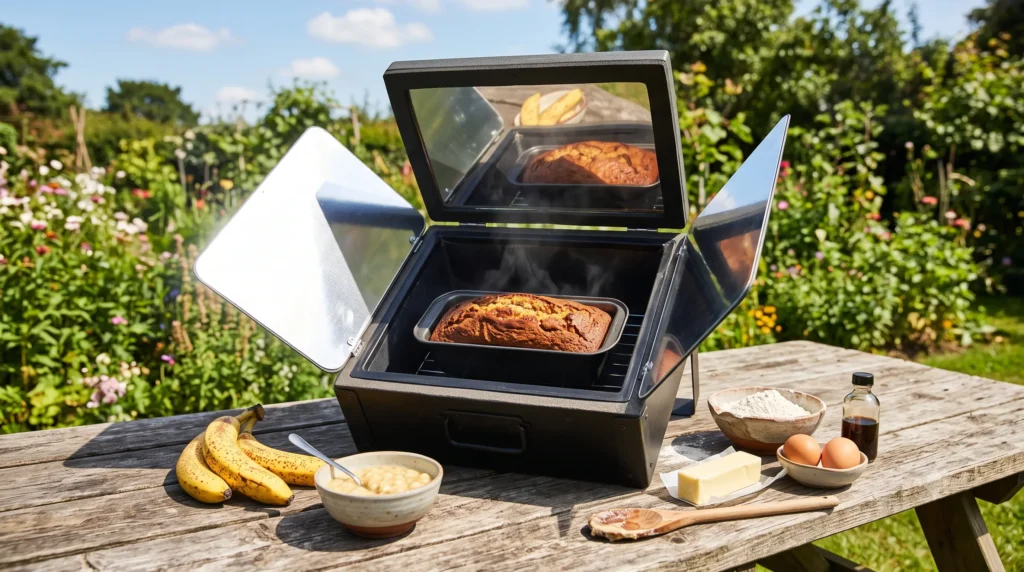
Table of Contents
Why Banana Bread Is Perfect for Solar Cooking
Unlike conventional ovens that rely on powerful heating elements, a solar cooker heats food slowly and evenly using the sun’s energy.
This gentle cooking method has several advantages for baking banana bread:
- Keeps moisture locked inside
- Reduces the risk of burning
- Produces an evenly baked loaf
- Creates a wonderfully soft texture
- Uses absolutely no electricity or gas
Because banana bread naturally contains fruit, butter, and eggs, it stays moist throughout the baking process. In fact, many people find that solar-baked banana bread is even softer than bread baked in a conventional oven.
How Solar Baking Is Different from Indoor Baking
If you’ve never baked in a solar cooker before, there are a few differences worth knowing.
1. The Temperature Rises Gradually
Your kitchen oven reaches 175°C (350°F) fairly quickly and maintains that temperature.
A solar cooker works differently.
Depending on the sunshine and the type of cooker you’re using, temperatures usually stay between:
- 120°C–160°C (250°F–325°F)
Instead of blasting food with heat, the cooker slowly builds temperature and maintains gentle, even cooking.
2. Baking Takes Longer
Patience is part of solar cooking.
Expect banana bread to take approximately:
- 1½–2½ hours
The exact time depends on:
- Sunshine intensity
- Outdoor temperature
- Wind conditions
- Solar cooker design
- How often you adjust the cooker toward the sun
The reward is worth the wait—a moist loaf with excellent flavour.
3. Moisture Stays Inside
One unique feature of solar ovens is that very little steam escapes.
This creates an environment similar to a steam oven, which helps prevent the bread from drying out.
The result is:
- softer crumb
- richer banana flavour
- less chance of overbaking
Tips for Successful Solar Baking
After baking several recipes in my own solar cooker, I’ve learned that a few simple habits make a big difference.
Use a Dark Baking Pan
Dark-coloured pans absorb much more solar heat than shiny aluminium.
The best choices include:
- Black non-stick loaf pans
- Dark steel baking tins
- Cast iron loaf pans
If you only own a shiny aluminium pan, place it inside a dark roasting pot with a lid to improve heat absorption.
Preheat Your Solar Cooker
Just like a conventional oven, your solar cooker should be preheated.
Place it in full sunlight for 15–20 minutes before adding the batter.
This helps the bread begin baking immediately instead of spending extra time warming up.
Avoid Opening the Lid
This is probably the hardest part.
I know it’s tempting to lift the lid every twenty minutes to check your progress.
Don’t!
Every time the cooker is opened, a large amount of trapped heat escapes.
One quick peek can easily add another 10–15 minutes to your baking time.
If your cooker has a glass viewing window, simply observe the bread through the glass.
Keep the Cooker Facing the Sun
The sun moves continuously across the sky.
To maintain maximum cooking temperature, rotate the cooker every 30–45 minutes so it continues facing the sun.
This simple adjustment can noticeably shorten cooking time.
Solar Cooker Banana Bread Recipe: Step-by-Step Instructions
This recipe has been slightly adjusted for solar cooking, where less moisture evaporates during baking.
Preparation Time
15 minutes
Baking Time
1½–2½ hours (depending on sunshine)
Servings
8 slices
Ingredients
- 3 very ripe bananas, mashed
- ⅓ cup melted butter (or vegetable oil)
- ¾ cup sugar
- 1 large egg, beaten
- 1 teaspoon vanilla extract
- 1 teaspoon baking soda
- Pinch of salt
- 1½ cups all-purpose flour
Optional Add-ins
For extra flavour, you can also include:
- ½ cup chopped walnuts
- ½ cup pecans
- Chocolate chips
- Raisins
- Shredded coconut
- Ground cinnamon
These additions make each loaf a little different and are fun to experiment with.
Step-by-Step Instructions
Step 1: Preheat the Solar Cooker
About 20 minutes before mixing the batter, place your solar cooker in full sunlight.
Adjust the reflectors and angle it directly toward the sun.
Allow the inside temperature to build while you prepare the ingredients.
Step 2: Prepare the Loaf Pan
Grease a dark loaf pan lightly with butter or cooking spray.
If necessary, line the bottom with baking paper to make removal easier.
Step 3: Mix the Wet Ingredients
In a large bowl:
- mash the bananas
- stir in melted butter
- add sugar
- mix in beaten egg
- add vanilla extract
Stir until everything is well combined.
Step 4: Add the Dry Ingredients
Sprinkle in:
- baking soda
- salt
Finally, fold in the flour.
Mix only until no dry flour remains.
Avoid overmixing, as this can make the bread dense instead of tender.
Step 5: Fill the Pan
Pour the batter evenly into the prepared loaf pan.
If using a panel solar cooker, place the pan inside a clear, heat-resistant oven bag to trap additional heat.
Step 6: Bake
Place the loaf pan inside the preheated cooker.
Close the lid securely.
Leave the cooker closed while baking.
Every 30–45 minutes, gently rotate the cooker so it continues facing the sun.
Step 7: Check for Doneness
After about 1½ hours, begin checking the bread.
The loaf is ready when:
- the centre feels firm
- the edges begin pulling away from the pan
- a toothpick inserted into the centre comes out clean
If the toothpick has wet batter on it, simply continue baking and test again after another 15–20 minutes.
Why Doesn’t the Top Turn Dark Brown?
Many first-time solar bakers wonder why the top of their loaf looks lighter than bread baked indoors.
The answer is simple.
Traditional ovens have heating elements above the bread that brown the surface.
Solar cookers rely mainly on radiant heat from all directions, so the loaf bakes evenly without intense top heat.
Don’t worry if your banana bread is golden instead of deep brown.
If the toothpick comes out clean, it’s fully cooked.
In fact, many people prefer the softer crust because it stays tender for longer.
Serving Suggestions
Allow the loaf to cool for about 10 minutes before removing it from the pan.
Serve it:
- warm with butter
- with cream cheese
- drizzled with honey
- alongside fresh fruit
- with peanut butter
- with your favourite cup of coffee or tea
It’s also a wonderful breakfast or afternoon snack.
Storage Tips
If there are leftovers (which doesn’t happen often in my house!), here’s how to store them:
- Room temperature: Up to 3 days in an airtight container.
- Refrigerator: Up to 1 week.
- Freezer: Slice the loaf first, wrap individual slices, and freeze for up to 3 months.
Simply thaw at room temperature or warm gently before serving.
Frequently Asked Questions
Can I bake this in any type of solar cooker?
Yes. Box solar cookers work best because they maintain a steady baking temperature. Panel cookers can also bake banana bread when used with a heat-resistant cooking bag. Parabolic cookers can work too, but they require closer monitoring because they produce much higher temperatures.
What if clouds pass overhead?
Don’t panic. Short periods of cloud cover usually won’t ruin the bread. Baking will simply take a little longer. If heavy clouds persist, you may need to finish the loaf in a conventional oven.
Can I reduce the sugar?
Yes. You can reduce the sugar to ½ cup if your bananas are very ripe. The bread will still be naturally sweet.
Can I make it healthier?
Certainly. Try replacing half of the all-purpose flour with whole wheat flour, or reduce the butter by substituting unsweetened applesauce for part of the fat.
Have more questions about solar cooking?
Visit our Solar Cooker FAQ: 50 Frequently Asked Questions for expert answers on choosing a solar cooker, cooking times, food safety, recipes, maintenance, and troubleshooting. It’s a great resource for both beginners and experienced solar cooking enthusiasts.
Final Thoughts
Banana bread is one of the easiest and most rewarding recipes you can make in a solar cooker. It requires simple ingredients, very little preparation, and showcases just how versatile solar cooking can be.
Every time I bake a loaf, I’m reminded that delicious food doesn’t always require electricity or gas. There’s something deeply satisfying about watching the sun do all the work while the aroma of freshly baked banana bread slowly fills the air. If you’re introducing friends or family to solar cooking for the first time, this is the recipe I’d recommend—they’re often amazed that something so soft, moist, and flavourful can be baked entirely with sunshine.
So the next time you notice a few overripe bananas on your counter and the weather forecast promises a bright, sunny day, don’t throw those bananas away. Set up your solar cooker, enjoy the experience, and let the sun bake a loaf that’s every bit as comforting as one from a conventional oven.
Happy solar baking! 🌞🍌🍞