A DIY cardboard solar oven is one of the easiest and cheapest ways to start solar cooking at home. This simple DIY project uses sunlight to cook food safely while saving energy.
Solar cooking is often perceived as an expensive hobby requiring high-tech vacuum tubes or costly parabolic mirrors. However, using basic principles of thermal dynamics and common household materials, you can build a functional solar oven for less than $5 (approximately RM 20–22).
As a consultant with decades of experience in construction and material specifications, I have designed this build to maximize heat retention using the most cost-effective materials available.
Before building your own oven, it helps to understand the different Types of Solar Cookers Explained available today, including box cookers, panel cookers, and parabolic solar cookers.
The Science: How a Box Cooker Works
Before we begin the assembly, it is important to understand the three principles of solar cooking:
- Fuel (Sunlight): The oven must be placed in direct sunlight, ideally between 10:00 AM and 4:00 PM.
- Absorption: Dark surfaces (like a black pot) convert light into heat.
- Retention: Insulation and a clear “glazing” (plastic or glass) trap the heat inside the box, creating a greenhouse effect.
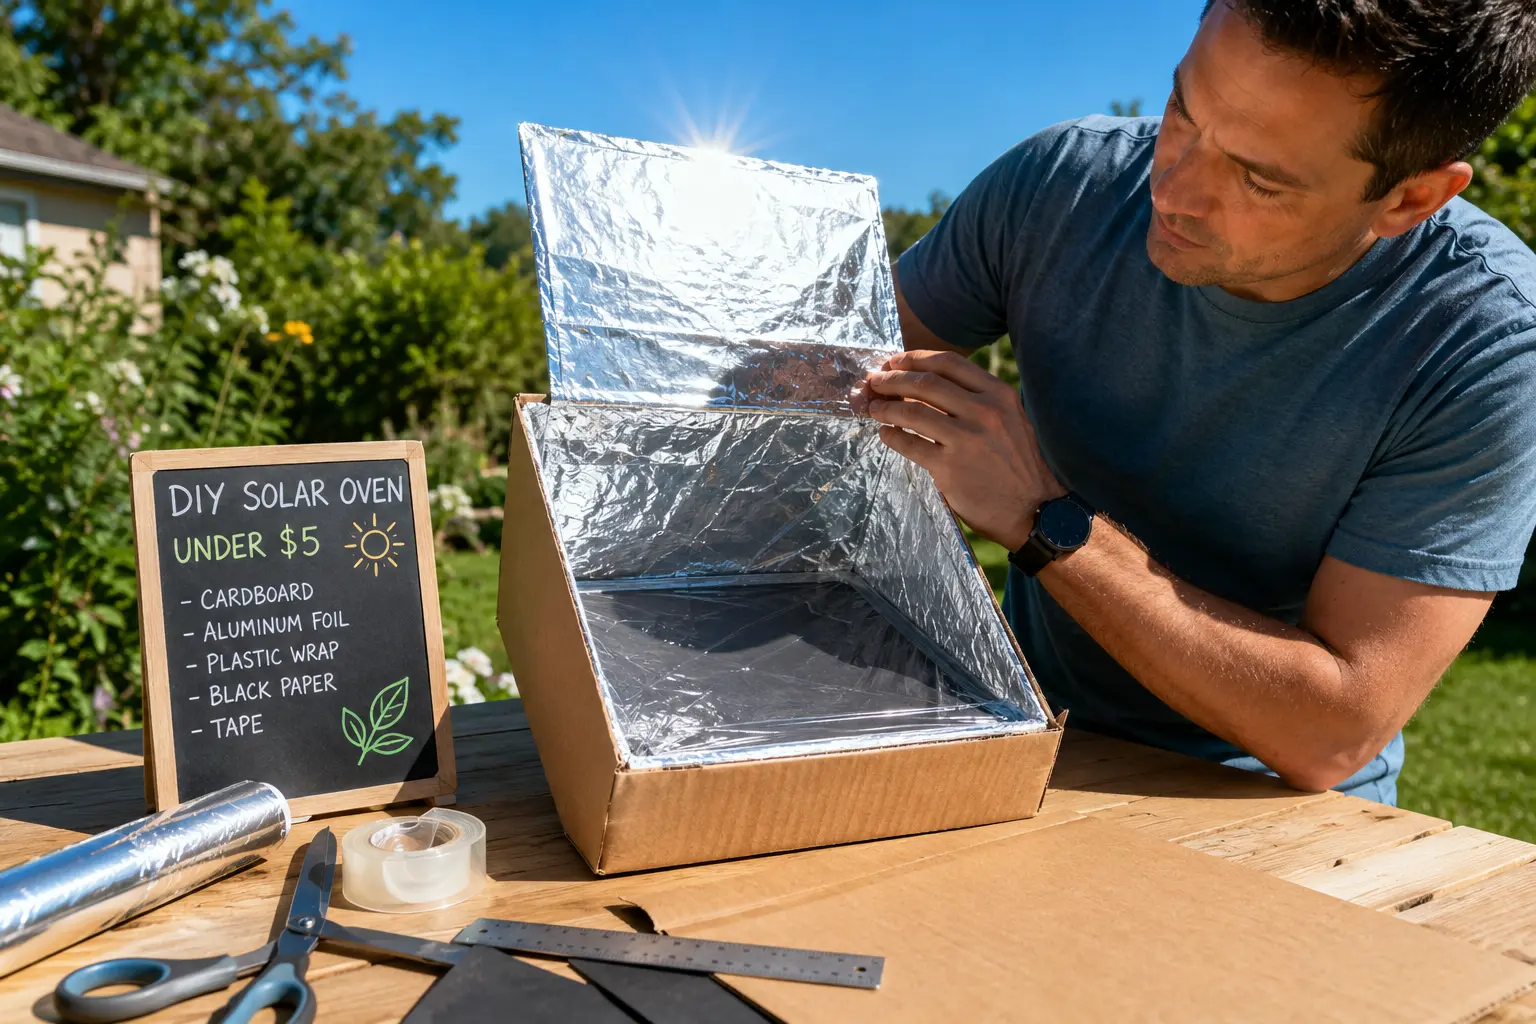
Materials Checklist (Under $5)
Most of these items can be found around the house or at a local DIY shop.
- Two Cardboard Boxes: One must fit inside the other with a 1–2 inch gap on all sides. (Free from grocery stores)
- Aluminum Foil: A standard roll. ($1.50)
- White Glue: Diluted with a little water. ($0.50)
- A Sheet of Clear Plastic or Glass: A heavy-duty oven bag or a piece of plexiglass scrap. ($2.00)
- Black Construction Paper or Non-Toxic Black Paint: For the bottom of the inner box. ($0.50)
- Insulation: Crumpled newspaper, dry leaves, or straw. (Free)
DIY Cardboard Solar Oven Step-by-Step Construction Guide
Step 1: Prepare the Boxes
Select your two boxes. The “Outer Box” provides the structure, while the “Inner Box” acts as the cooking chamber.
- Trim the flaps of the inner box so they fit flush with the top of the outer box.
- Glue the black construction paper to the bottom of the inner box. This will serve as your “heat sink” to absorb solar energy.
Step 2: Apply the Reflective Lining
Apply aluminum foil to the inside of the inner box and the undersides of the outer box flaps.
- Pro Tip: Use a brush to apply a thin layer of diluted glue to the cardboard first, then smooth the foil over it. Keep the foil as flat as possible; wrinkles can scatter light and reduce efficiency.
Step 3: Insulate the Cavity
Place the inner box inside the outer box. Fill the 1–2 inch gap between the two boxes with your insulation material (crumpled newspaper is excellent for this).
This “thermal break” is crucial. Just as in building construction, insulation prevents the heat trapped in the inner chamber from escaping into the cooler outside air. In my three decades managing construction projects, I’ve learned that a ‘thermal break’ is the most critical component of any energy-efficient structure. Think of the newspaper insulation between these boxes just like the insulation in a building’s wall—it’s what actually holds the heat in.”
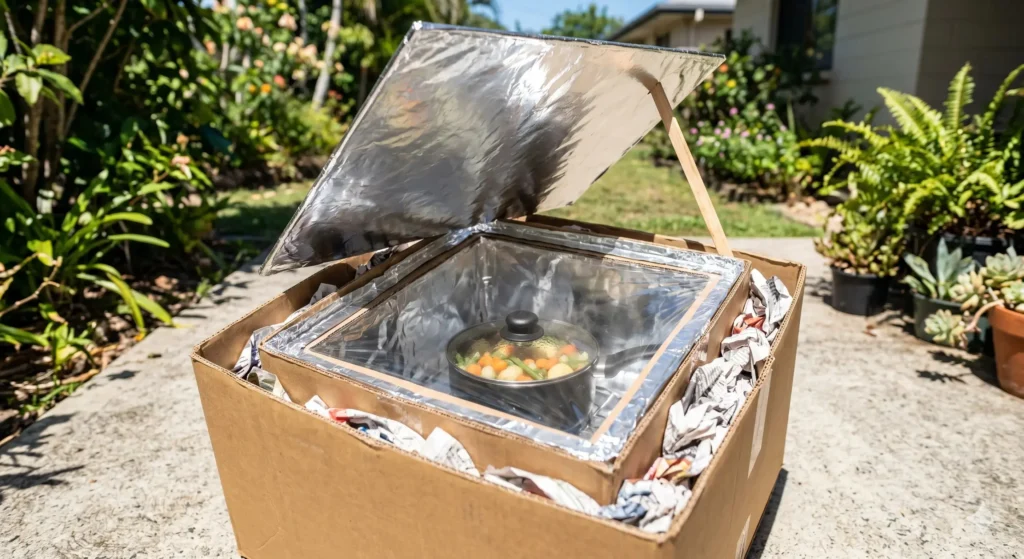
Step 4: Create the Glazing (The “Lid”)
The glazing is what creates the greenhouse effect.
- Cut a piece of clear plastic (an oven-safe roasting bag works best because it can withstand high heat) to fit the top of the inner box.
- Tension it tightly and tape it down. This creates an airtight seal that lets light in but prevents hot air from rising out.
Step 5: The Reflective Flap
If your outer box has flaps, leave one large flap attached. Cover the inside of this flap with foil. You will use a stick or a wire to prop this flap up at an angle that reflects extra sunlight into the box.
Once your DIY oven is ready, try these easy Solar Cooker Recipes for Beginners to start cooking simple meals using only sunlight.
Performance Expectations & Safety
In high-UV regions like Malaysia, a well-insulated cardboard oven can reach internal temperatures between 120°C and 150°C (250°F – 300°F). This is sufficient for slow-cooking rice, vegetables, or even small cuts of chicken.
When I tested this exact setup in the Sri Damansara afternoon sun, I recorded an internal temperature of 135°C within 45 minutes. I found that if the humidity is high, you may need to wipe down the condensation on the plastic glazing every hour to maintain maximum efficiency
Important Safety Precautions:
- Eye Protection: When adjusting the reflective flap, the glare can be intense. Always wear UV-rated sunglasses.
- Surface Heat: Although the exterior is cardboard, the inner cooking pot will be extremely hot. Always use oven mitts.
- Stability: Ensure the cooker is placed on a flat, non-combustible surface like stone or concrete.
Always follow proper Solar Cooking Safety Tips when handling hot cookware, reflective surfaces, and outdoor cooking equipment.
Frequently Asked Questions (FAQ)
How long does it take to cook food in a cardboard solar oven?
Cooking times vary based on the intensity of the sun and the type of food. Generally, you should allow twice as long as you would in a conventional oven. For example, if rice takes 20 minutes on a stove, it may take 45–60 minutes in your solar oven during peak sunlight (10:00 AM – 2:00 PM).
Can I use a solar oven on a cloudy day?
While solar ovens work best in clear, direct sunlight, they can still function on lightly hazy days, though temperatures will be significantly lower. If you cannot see a distinct shadow on the ground, the solar radiation is likely too weak to cook food safely.
Is it safe to cook meat in a cardboard box?
Yes, provided the internal temperature of the meat reaches safe levels (typically above 75°C or 165°F). Because cardboard ovens act like “slow cookers,” they are excellent for tenderizing meat, but I recommend using a food thermometer to ensure safety, especially when cooking poultry.
What kind of pots work best for solar cooking?
For maximum efficiency, use thin, dark-colored metal pots with tight-fitting lids. Black matte finishes absorb the most solar energy. Avoid using shiny stainless steel or thick ceramic pots, as they reflect light or take too long to heat up.
How do I prevent the cardboard from catching fire?
Cardboard has a high ignition temperature (approximately 230°C / 450°F), while most solar box cookers only reach 150°C (300°F). As long as you are not using mirrors to highly concentrate light onto the cardboard itself, the risk of fire is extremely low. Always place your cooker on a non-combustible surface like stone or concrete for added safety.
Conclusion
This DIY cardboard solar oven project is ideal for beginners interested in sustainable cooking. Building a solar oven is a rewarding DIY project that demonstrates the incredible potential of renewable energy. By recycling cardboard and using simple physics, you can reduce your carbon footprint and save on energy costs simultaneously.
About the Author:
This guide was developed and tested by Steven Lim, a Consultant Quantity Surveyor with over 35 years of experience in construction project management. By applying professional principles of thermal insulation and material efficiency, I aim to make sustainable solar cooking accessible and safe for every household.